
Article code: PSHDF03
Tags: Downtime
Answer
To add downtime to your schedule, please complete the following steps:
- Determine how long downtime will last and at which line
- Click and drag a section of time on the schedule
Note: A green bar will display indicating that you have selected a timeframe on the schedule. See image below
- Select Downtime block in the Create block pop-up window
- Enter information about the scheduled downtime
- Click Save
Result: You have scheduled downtime in your schedule, which will display as a light grey block. See image below.
Please note that you can lock downtime blocks in place in your schedule to prevent others from making changes to it. To learn more about locking downtime blocks in place, please read the HelpDesk article, “How do I lock work blocks in Production Scheduling?”
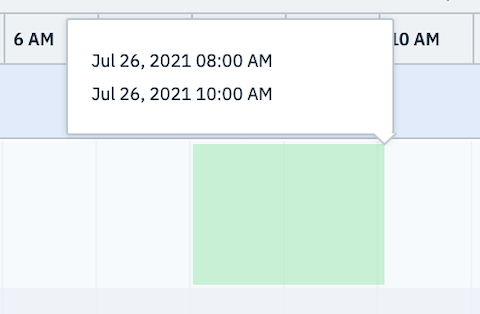
Fig. 1: Scheduling 2 hours of downtime for machine maintenance
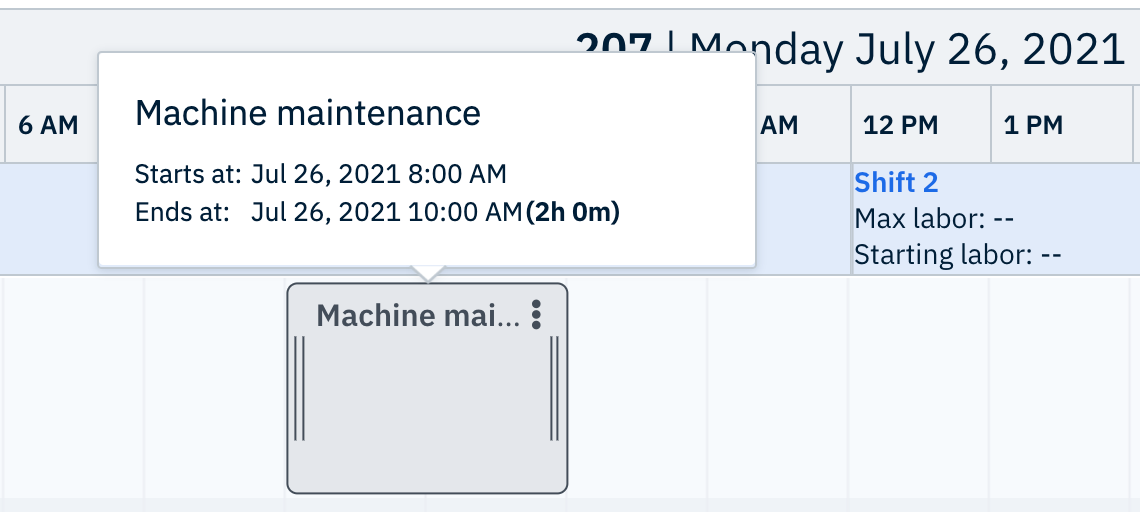
Fig. 2: A scheduled downtime block
Related HelpDesk Articles:
Comments
0 comments
Please sign in to leave a comment.