
Article code: PSHDF05
Tags: Locked Block
Answer
You may have noticed that some work blocks in your schedule have a lock icon at the top left corner. See image below. The lock icon indicates that the work block has been locked in place in the schedule.
When a work block has been locked, you cannot make any edits to it or move it to another area in your schedule. Production Scheduling will prevent you from scheduling work orders and work blocks over locked work blocks. To edit a locked work block, you will need to unlock it first.
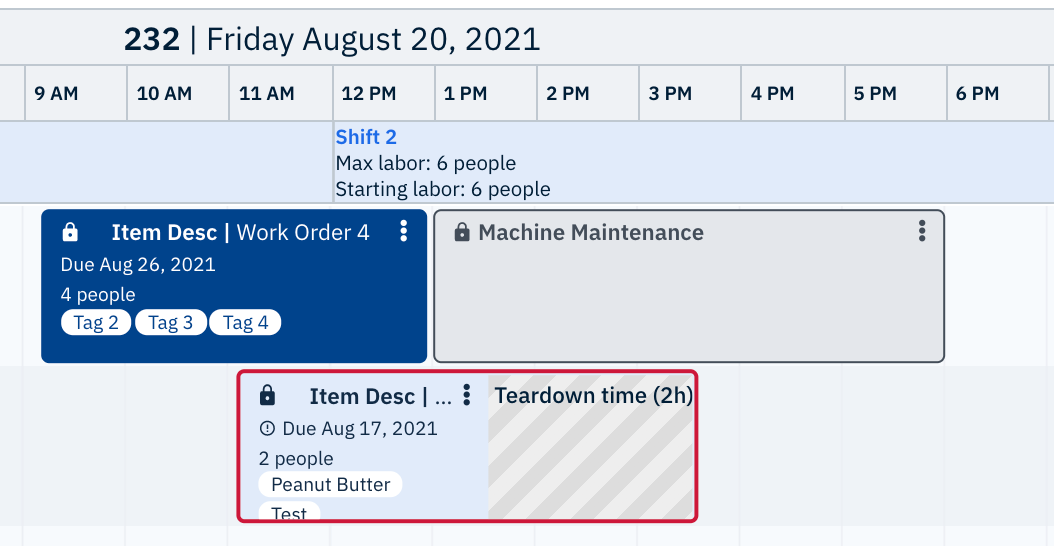
Fig. 1: Three work blocks that have been locked into place
How to lock and unlock a work block
To lock a work block in place, please complete the following steps:
- Identify which work block you want to lock
- Double-click on the work block to open the Edit work block menu
- Click on the lock icon to lock the work block
Note: The lock icon will turn blue to indicate that the work block has been locked.
Result: You have locked the work block. See image below

Fig. 2: The lock icon is blue, indicating that the work block is locked
To unlock a work block, please complete the following steps:
- Identify a locked work block that you want to unlock
- Double-click on the locked work block to open the Edit work block menu
- Click on the lock icon
Note: The lock icon will turn white to indicate that the work block has been unlocked. - Click Save
Result: You have unlocked the work block. See image below

Fig. 3: The lock icon is white, indicating that the work block is unlocked
Best Practice Tip!
It is best to lock work blocks or downtime blocks in place when you want to ensure events will happen on time, such as scheduled machine maintenance and repair or confirmed production runs. Also, when you are working with work order data that is constantly changing, you may find it useful to schedule production for a work order by creating a work block and then locking it when production has been confirmed to run.
Related HelpDesk Articles:
Comments
0 comments
Please sign in to leave a comment.